

Corel VideoStudio Ultimate 2020
Corel’s Windows-only VideoStudio editing software comes in two versions, Ultimate and Pro. The features are mostly similar, with the Ultimate version offering more effects, filters and transitions. But it also has a few features some editors might be tempted by, like creating video masks, split screen templates, a 3D title editor, the ability to handle multi-camera editing with 6 instead of 4 cameras, and a video stabilisation tool.
- Want to try Corel VideoStudio Ultimate 2020? Check out the website here
As a result, this review will look at the Ultimate version, but should make sense for the most part to anyone thinking of acquiring Pro instead.
- We've also highlighted the best free video editing software
Importing footage
Being able to add media to your project is pretty crucial for a video editing application, and VideoStudio does a pretty good job at this. You can bring up an import window to add clips, photos and audio files to your project’s Media Panel, but the most useful way is simply to drag the file you wish to use from wherever you’ve stored it on your hard drive, straight onto your project’s Timeline.
In addition to being able to capture video from a webcam or other compatible camera directly into your project, an excellent feature is the ability to record your computer screen via the Capture section. It records your screen at 30fps, and once you’re done, everything is sent to your project’s Media Panel. You’re then free to edit it as you see fit.
Editing
The main Editing section is where you’ll be spending most of your work. It is divided into four parts: top of the screen are the Viewer Window, the Library Panel (where you can gain access to your media, and any effects you’d like to apply to your video), and the Options Panel (a floating window where you can fine tune various parameters, depending on what is selected in your timeline).
Speaking of the Timeline, this is where you add media to your project and build your video. The look of the interface feels clean yet antiquated, like something that wouldn’t look out of place in the 1990s. You can switch the Timeline between two modes: “Storyboard”, where each clip is represented by a large square icon, irrespective of its length. Although good for novices, the other, more traditional mode view should be your go-to choice of interface, the main advantage being that you can work with multiple tracks.
The video track is your primary track. You aren’t allowed to have any gaps in it so if you delete a clip, any remaining footage to the right of it will move to the left until the gap created by the deleted clip disappears. This is a good way to build an edit fast. Unfortunately veteran editors will miss some traditional keyboard shortcuts like setting In and Out points or scrolling through the edit via the JKL keys.
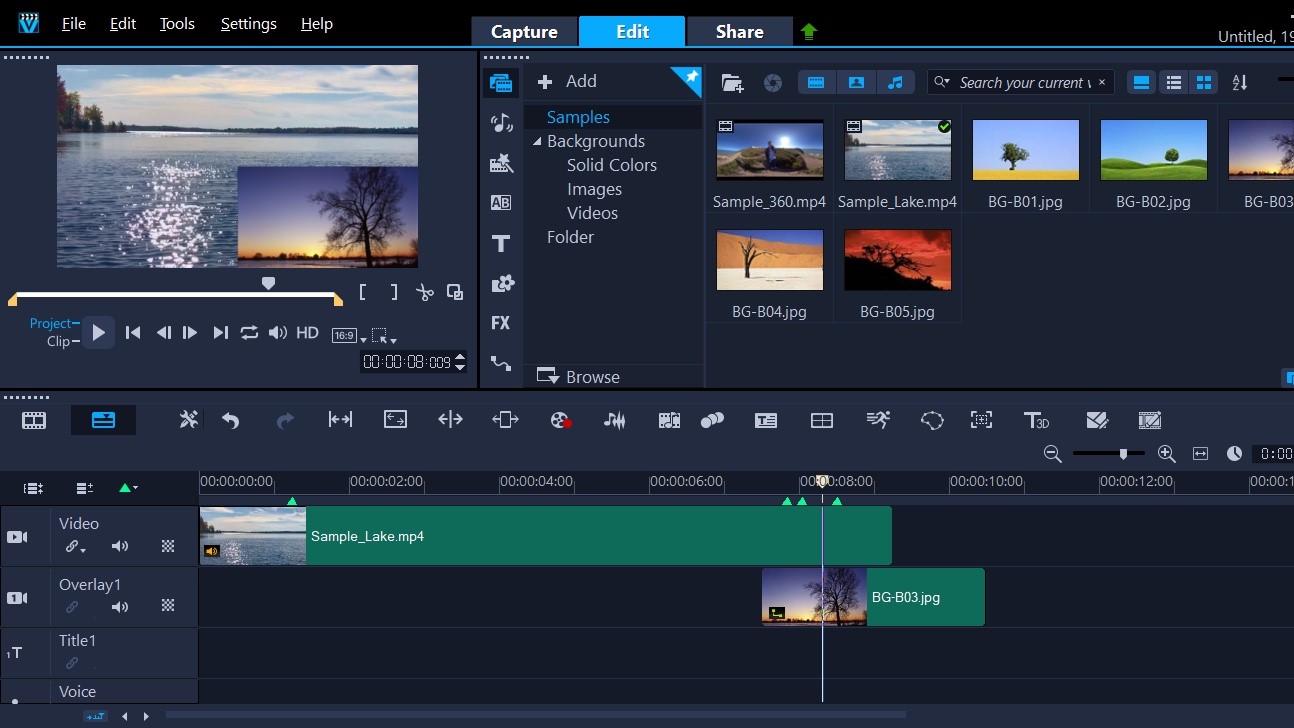
One thing which takes a while to get used to if you’re used to editing video with other software packages is the fact that the layer concept is reversed. Usually, layers reflect how the real world works: put a piece of paper on top of another and you can no longer see the sheet that’s now under it. Therefore, usually, if you place a video clip on a track above the current one, it will obscure the first clip. In VideoStudio, it’s the opposite: the top track is the main video track, and to place a clip over it you have to add it to the track beneath the main one. It can be confusing, especially at first, but you do eventually get used to it.
Something which is quite limiting, especially for a package advertising itself as “Pro” or “Ultimate”, is the inability to properly work with multiple layers of video. The primary layer is essentially it. Yes, you can add a clip to a second layer, but it’s treated as a picture-in-picture overlay, where the clip is shrunk and placed in the corner of the screen.
It is possible to increase that overlay’s size so it takes up the whole space, but that’s very convoluted. Worse still, you can’t move clips between the overlay and the primary video layers. As such, we wouldn’t call this editing platform “Pro”.
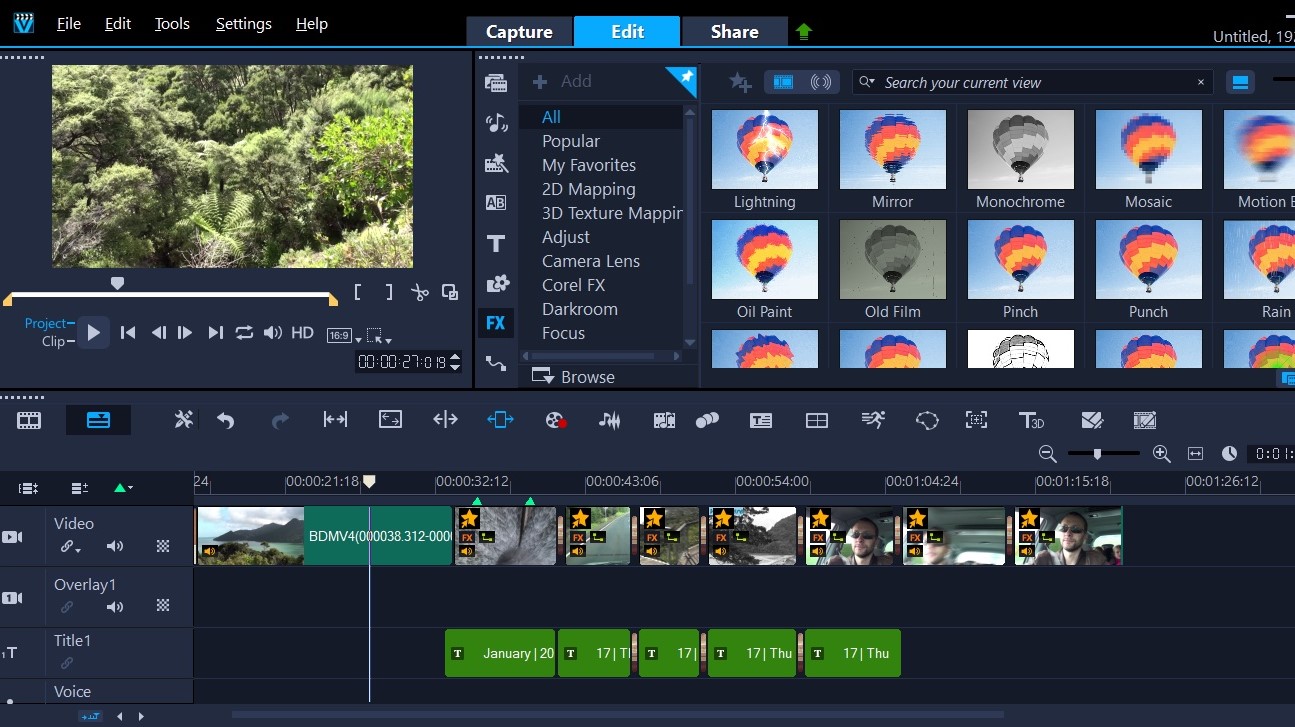
Effects and transitions
One feature we quite liked was the ability to alter the speed of a clip by altering its length directly in the timeline simply by holding down the Shift key and dragging its edges. This works very well and allows you to retime a clip to suit the exact duration you need with ease.
The Viewer Window has a few good tricks up its sleeves too: you can resize clips, skew them, crop them, and move them around directly from there. There are even Smart Guide Alignments to make it easy to position a clip to the centre, and an aspect ratio button to resize a clip or photo with the click of a menu. These are all useful timesaving tools.
Any changes you wish to apply to a clip can be done via the Options Panel. This is where you can apply some colour correction, or change some of the basic parameters like creating a pan & zoom effect across your photo or video. This is also the place to find all the effects you’ve added to a clip - by default you can only add one at a time, but a simple untick will allow you to cram in as many as you fancy.
If you work with cameras with fish-eyed lenses, you’ll definitely appreciate the Lens Correction tools. It has presets for a list of GoPro cameras, but VideoStudio also offers you the ability to change the parameters yourself to achieve the perfect result.
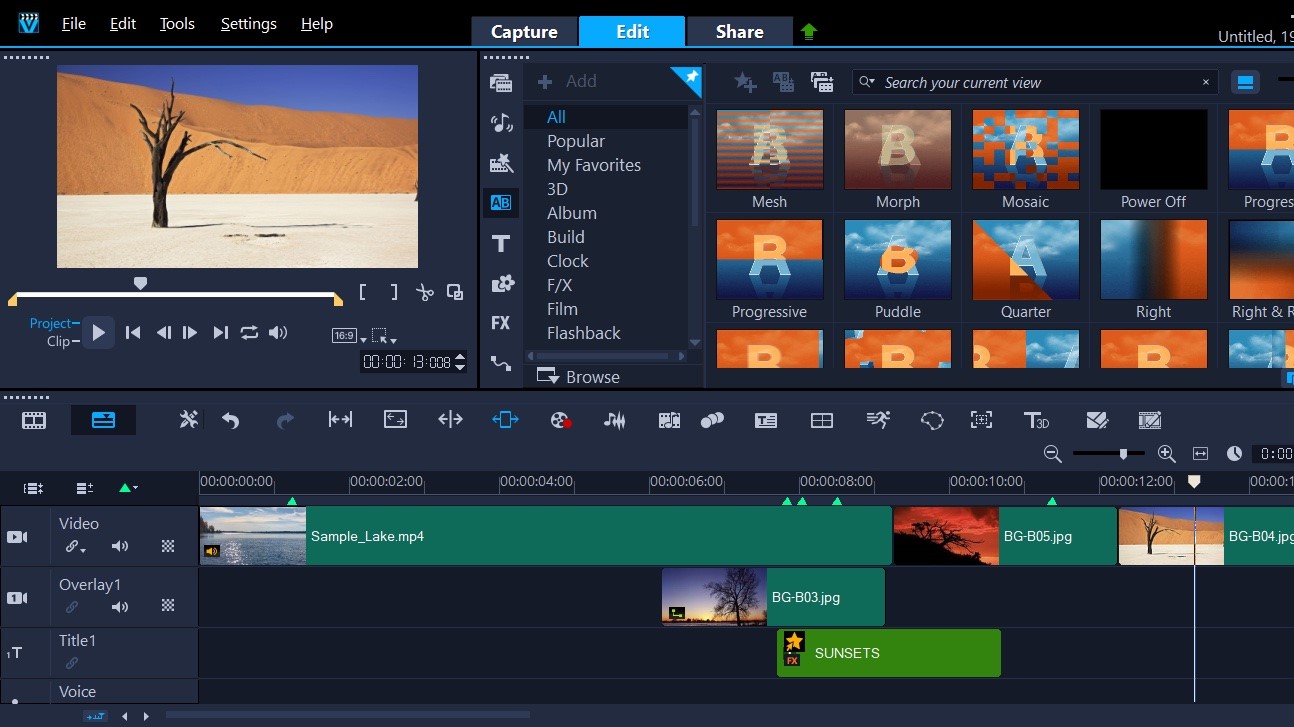
As for the effects, along with transitions, titles, etc, they can all be found in the Media Panel. If the tool in question includes an animation, its thumbnail will offer you a quick preview of what that will look like. Although this sounds like a great idea, as soon as an effect tab is selected, all presets contained within it will begin their animation, and after a while this can get pretty distracting.
Above the Timeline is another set of tools, which offers you specific options such as impressive 3D Text and a Split Screen Template Creator, amongst others. The latter is extremely interesting: rather than working with multiple video tracks, you can split the Viewer Window into sections, pretty much like a page from a graphic novel. You can get pretty creative and once you’re happy with your division, you can just drag your media over the various segments. Sadly we found it buggy at times.
Exporting
Once you’ve completed your work, it’s time to share it. On top of custom controls, VideoStudio offers you a series of presets for various mobile devices, save it to a DVD or Blu-ray, and even straight to social media sites like YouTube, or Facebook, right from within the interface. This is incredibly convenient.
New for 2020
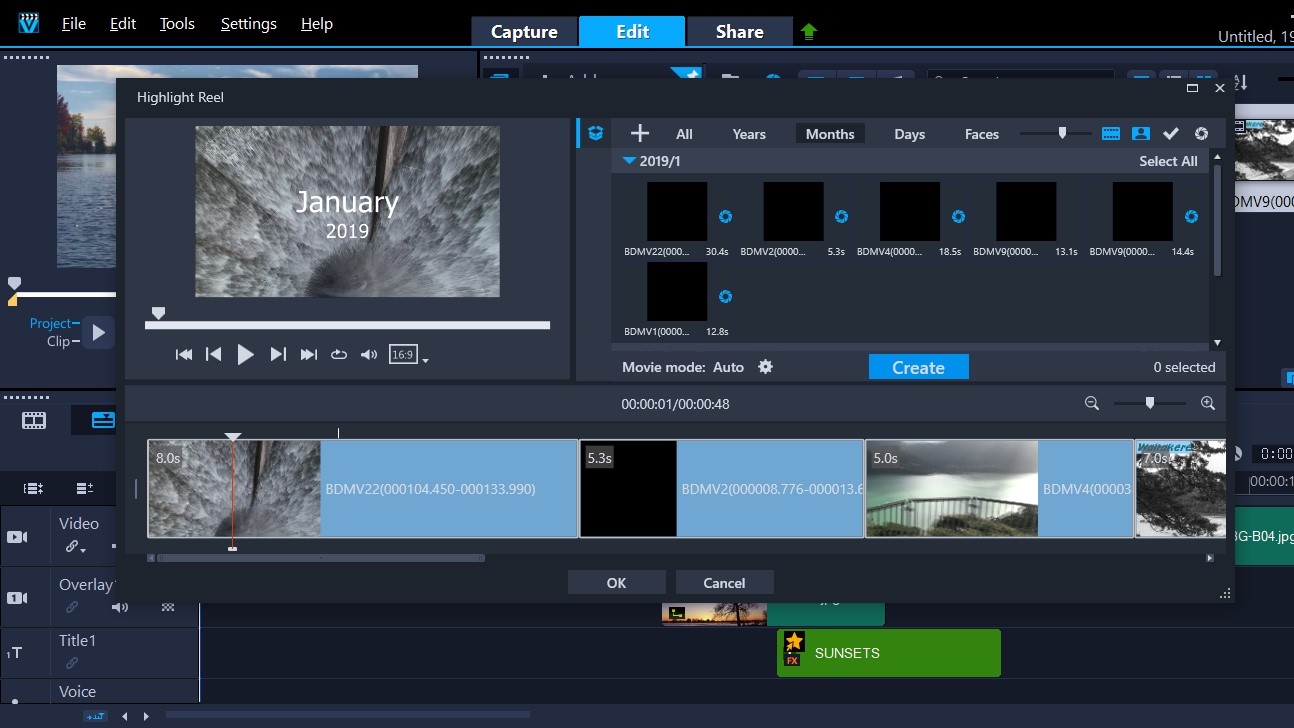
As always, the new 2020 version brings some additional titles and blend modes, and some tools have been improved, such as video masking, but the feature we liked most is called Highlight Reel. It’s a way for VideoStudio to create a short film for you, based on the clips you give it. Those clips can be organised by date, location, even people, and the video can be made to the length of a music file, should you wish.
It’s a great way to create something quick without agonising over the details - although you can also fine tune every aspect of the edit, should you want to. It’s pretty much win-win.
Final verdict
Although VideoStudio may feel antiquated, and its timeline is constraining and works the wrong way round - if you’re used to other similar software - it comes with a number of really good ideas and clever implementations. It isn’t the best video editor out there, but it’s good value for money, despite its limitations.
- Also check out our complete list of the best video editing software
About Unknown


No comments